Dark Chocolate Lava Cakes
Highlighted under: Sweet Creations Studio
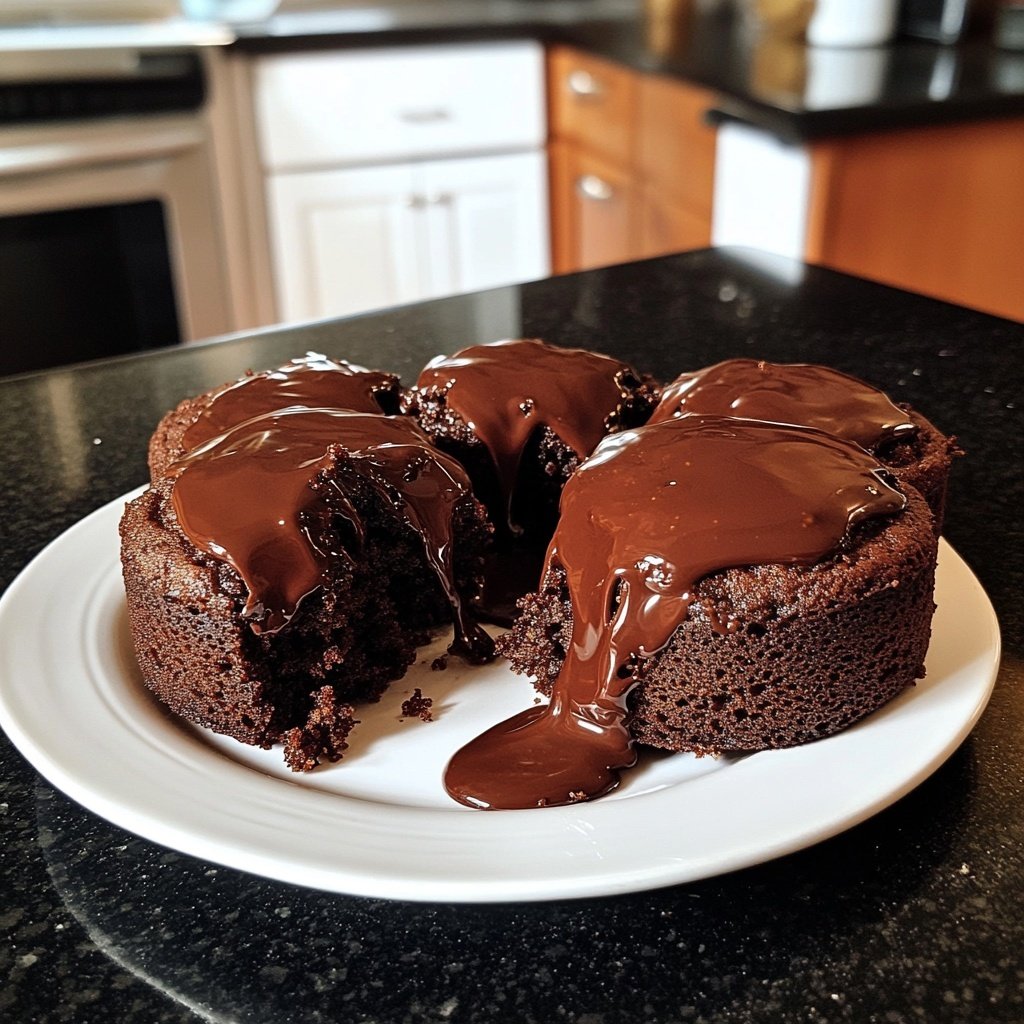
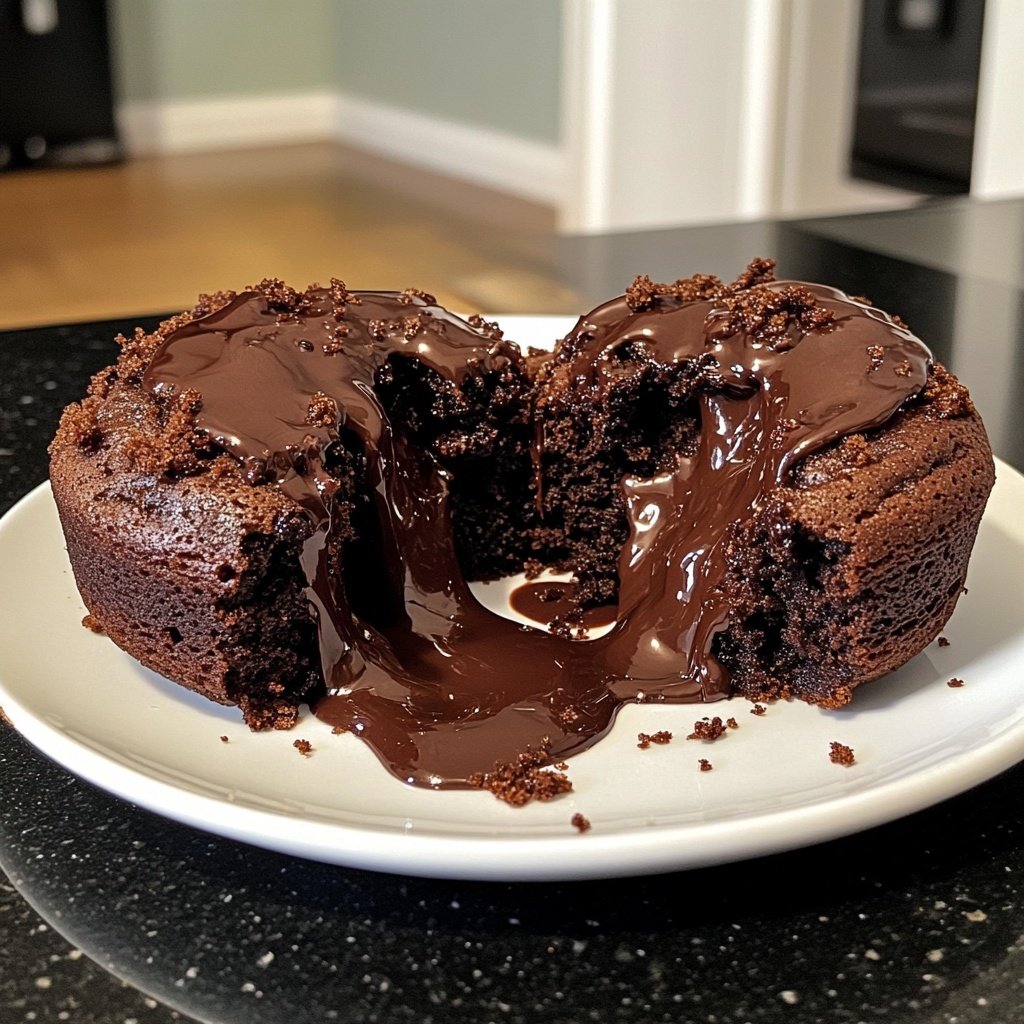
I absolutely adore making Dark Chocolate Lava Cakes for a special treat! The moment you break into the cake, that gooey, molten chocolate center flows out, creating a divine experience. It only takes a few minutes to prepare, making it perfect for entertaining guests or simply indulging in a decadent dessert at home. Plus, they pair beautifully with a scoop of vanilla ice cream, enhancing the rich chocolate flavor. Trust me, these cakes will impress both you and your loved ones with their delightful surprise!
When I first attempted to make Dark Chocolate Lava Cakes, I was blown away by how effortless they were to whip up, yet so impressive to serve. The key to achieving that perfect gooey center is baking them just right—slightly less than a full bake achieves that desired lava effect. I even experimented with different chocolate percentages, and trust me, a higher cocoa content truly elevates the taste.
One of my favorite tips is to use high-quality chocolate for the ganache. It’s a simple yet effective way to ensure that rich, indulgent flavor shines through. Don’t be afraid to customize with a hint of espresso or orange zest in the batter, which can take these cakes to the next level!
Why You'll Love This Recipe
- Rich chocolate flavor paired with fresh orange zest
- Creamy texture that melts in your mouth
- Perfect for celebrations or as a sweet indulgence
Understanding the Ingredients
The foundation of these Dark Chocolate Lava Cakes lies in the quality of chocolate you choose. Opting for dark chocolate with 60-70% cocoa not only provides a robust flavor but also a luxurious texture that contributes to the molten center. Make sure to use high-quality chocolate; it can make a significant difference in the final taste and richness of your dessert. If you're in a pinch, semi-sweet chocolate is a workable substitute, though it may alter the flavor profile slightly.
Butter is another key ingredient that ensures a rich, velvety texture in your cakes. Using unsalted butter allows you to control the saltiness of the dish, enhancing the chocolate's depth without overwhelming it. Remember that the butter needs to be melted with the chocolate until fully incorporated, as any graininess can lead to texture issues later on. For those looking to make this recipe dairy-free, consider using a high-quality coconut oil or vegan butter as alternatives.
Perfecting the Baking Technique
Getting the baking time just right is essential for achieving that gooey center. Keep an eye on the cakes as they bake; you want the edges to be set while the center remains slightly jiggly. This usually takes around 12-14 minutes, but oven variations can affect timing. To avoid overbaking, consider using a toothpick to test for doneness. If it comes out clean, you've gone too far—aim for a toothpick that comes out with a bit of the batter still clinging to it.
One common mistake when making lava cakes is filling the ramekins too much. Ideally, you should fill them only about three-quarters full to allow space for the cakes to rise and create that molten middle. It's also helpful to tap the ramekins gently on the counter before baking. This releases any air bubbles that could disrupt the structure of the cake, contributing to a better rise and texture.
Serving and Storing
When serving your Dark Chocolate Lava Cakes, presentation matters! I love to invert them onto warm plates for a dramatic reveal of the molten center. To elevate the experience, consider adding a dusting of powdered sugar or a drizzle of melted chocolate over the top. Pairing them with a scoop of creamy vanilla ice cream not only enhances the rich chocolate flavor but also adds a wonderful temperature contrast that's delightful.
If you have any leftovers, you can store the unbaked batter in the refrigerator for up to 24 hours, making it an ideal make-ahead dessert. When ready to bake, just pour it into the ramekins and bake as usual. Baked lava cakes can be stored in an airtight container in the fridge for a couple of days. However, keep in mind that reheating them in the microwave may alter the molten texture, so aim for serving them fresh if possible.
Ingredients
Gather the following ingredients to create the perfect Dark Chocolate Lava Cakes:
Ingredients
- 1/2 cup unsalted butter
- 1 cup dark chocolate (60-70% cocoa), chopped
- 2 large eggs
- 2 large egg yolks
- 1/4 cup granulated sugar
- 2 tablespoons all-purpose flour
- 1 teaspoon vanilla extract
- Pinch of salt
- Butter and cocoa powder for greasing ramekins
Make sure all ingredients are at room temperature for the best texture!
Instructions
Follow these steps to achieve your perfect Lava Cakes:
Preheat the Oven
Preheat your oven to 425°F (220°C) and prepare four ramekins by greasing them with butter and dusting with cocoa powder.
Melt the Chocolate and Butter
In a microwave-safe bowl, combine the chopped dark chocolate and butter. Microwave in 30-second intervals, stirring between each until smooth.
Combine the Eggs and Sugar
Whisk together the eggs, egg yolks, and granulated sugar in a separate bowl until light and fluffy.
Mix the Ingredients
Carefully fold the melted chocolate mixture into the egg mixture. Add the flour, vanilla extract, and salt, mixing until just combined.
Fill the Ramekins
Pour the batter evenly into the prepared ramekins, filling each about 3/4 full.
Bake
Bake in the preheated oven for 12-14 minutes until the edges are firm but the center is soft. Let them cool for 1 minute.
Serve
Invert onto plates and serve immediately, ideally with a scoop of vanilla ice cream.
Enjoy your delightful Dark Chocolate Lava Cakes while they're warm!
Pro Tips
- For an extra flair, consider adding a sprinkle of sea salt on top before serving. The contrast enhances the chocolate flavor beautifully!
Tips for Success
To achieve the signature molten center, be sure not to skip the step of cooling the cakes just slightly after baking, as this allows the edges to firm up while the centers remain delightful and gooey. A minute or two is usually sufficient; if you wait too long, the cakes may solidify completely, losing their signature texture.
Using quality ramekins is also key. Ensure they can withstand high heat and are non-stick, which will make it easier to release the cakes after baking. You might want to use silicone ramekins for a non-stick effect without greasing, but if using ceramic or glass, don’t forget to butter and dust with cocoa powder to ensure an effortless release.
Flavor Variations
While dark chocolate is the classic choice for these lava cakes, experimenting with different flavorings can yield delightful variations. Try incorporating espresso powder into the batter for a mocha flavor or adding a splash of orange liqueur for a sophisticated citrus twist. You can also layer in a dollop of caramel or raspberry puree in the center to surprise your guests with an additional flavor layer when they cut into the cakes.
For a nutty twist, consider folding in finely chopped nuts like hazelnuts or walnuts into the batter. This not only adds an enjoyable crunch but also complements the richness of the chocolate. Just be cautious not to overwhelm the batter; a small handful is plenty to enhance texture without stealing the show from the chocolate.
Questions About Recipes
→ Can I prepare the batter in advance?
Yes! You can prepare the batter, fill the ramekins, and refrigerate them for up to 24 hours. Just add a couple of extra minutes to baking time if they're cold.
→ What can I substitute for dark chocolate?
You can use semi-sweet chocolate, but it will alter the flavor slightly. Ensure it's high quality for best results.
→ Can I freeze the lava cakes?
While it's not ideal, you can freeze the unbaked ramekins. Thaw them in the refrigerator before baking.
→ Can I add flavors to the batter?
Absolutely! Add a teaspoon of espresso powder, orange zest, or a splash of liqueur to enhance the flavors.
Dark Chocolate Lava Cakes
Created by: Heidi Lawson
Recipe Type: Sweet Creations Studio
Skill Level: Intermediate
Final Quantity: 4 servings
What You'll Need
Ingredients
- 1/2 cup unsalted butter
- 1 cup dark chocolate (60-70% cocoa), chopped
- 2 large eggs
- 2 large egg yolks
- 1/4 cup granulated sugar
- 2 tablespoons all-purpose flour
- 1 teaspoon vanilla extract
- Pinch of salt
- Butter and cocoa powder for greasing ramekins
How-To Steps
Preheat your oven to 425°F (220°C) and prepare four ramekins by greasing them with butter and dusting with cocoa powder.
In a microwave-safe bowl, combine the chopped dark chocolate and butter. Microwave in 30-second intervals, stirring between each until smooth.
Whisk together the eggs, egg yolks, and granulated sugar in a separate bowl until light and fluffy.
Carefully fold the melted chocolate mixture into the egg mixture. Add the flour, vanilla extract, and salt, mixing until just combined.
Pour the batter evenly into the prepared ramekins, filling each about 3/4 full.
Bake in the preheated oven for 12-14 minutes until the edges are firm but the center is soft. Let them cool for 1 minute.
Invert onto plates and serve immediately, ideally with a scoop of vanilla ice cream.
Extra Tips
- For an extra flair, consider adding a sprinkle of sea salt on top before serving. The contrast enhances the chocolate flavor beautifully!
Nutritional Breakdown (Per Serving)
- Calories: 380 kcal
- Total Fat: 26g
- Saturated Fat: 15g
- Cholesterol: 195mg
- Sodium: 85mg
- Total Carbohydrates: 32g
- Dietary Fiber: 3g
- Sugars: 24g
- Protein: 6g